* Some links may be affiliate links. See the footer disclosure.
A DIY self-watering planter from bottles can be useful for small-space gardening, especially if pots dry quickly or you sometimes forget to water. It is not a magic system, and it is not right for every plant, but it can help herbs, salad leaves and small leafy crops stay more evenly moist.
This guide keeps the idea simple, low-cost and renter-friendly. The aim is a small, checkable setup, not a complicated engineering project.
What a self-watering planter does
A self-watering planter stores water in a reservoir so the compost can draw moisture as needed. In simple DIY versions, the reservoir might be a bottle, tub or lower chamber.
This can reduce watering swings. Instead of compost drying completely then being soaked, moisture is released more steadily.
For general watering principles, read How Often Should You Water Plants in Pots in the UK?.

Best crops for DIY self-watering
Try this with plants that prefer steady moisture:
- Parsley
- Mint
- Chives
- Salad leaves
- Pea shoots
- Some leafy greens
Avoid using a constantly damp setup for herbs that prefer drier conditions, such as rosemary and thyme. Also avoid testing it first on your most valuable plant.
Bottle methods
Bottle reservoir beside the plant
A small bottle can act as a slow-release reservoir if water can move gradually into the compost. This is best for short-term help, not a permanent replacement for watering.
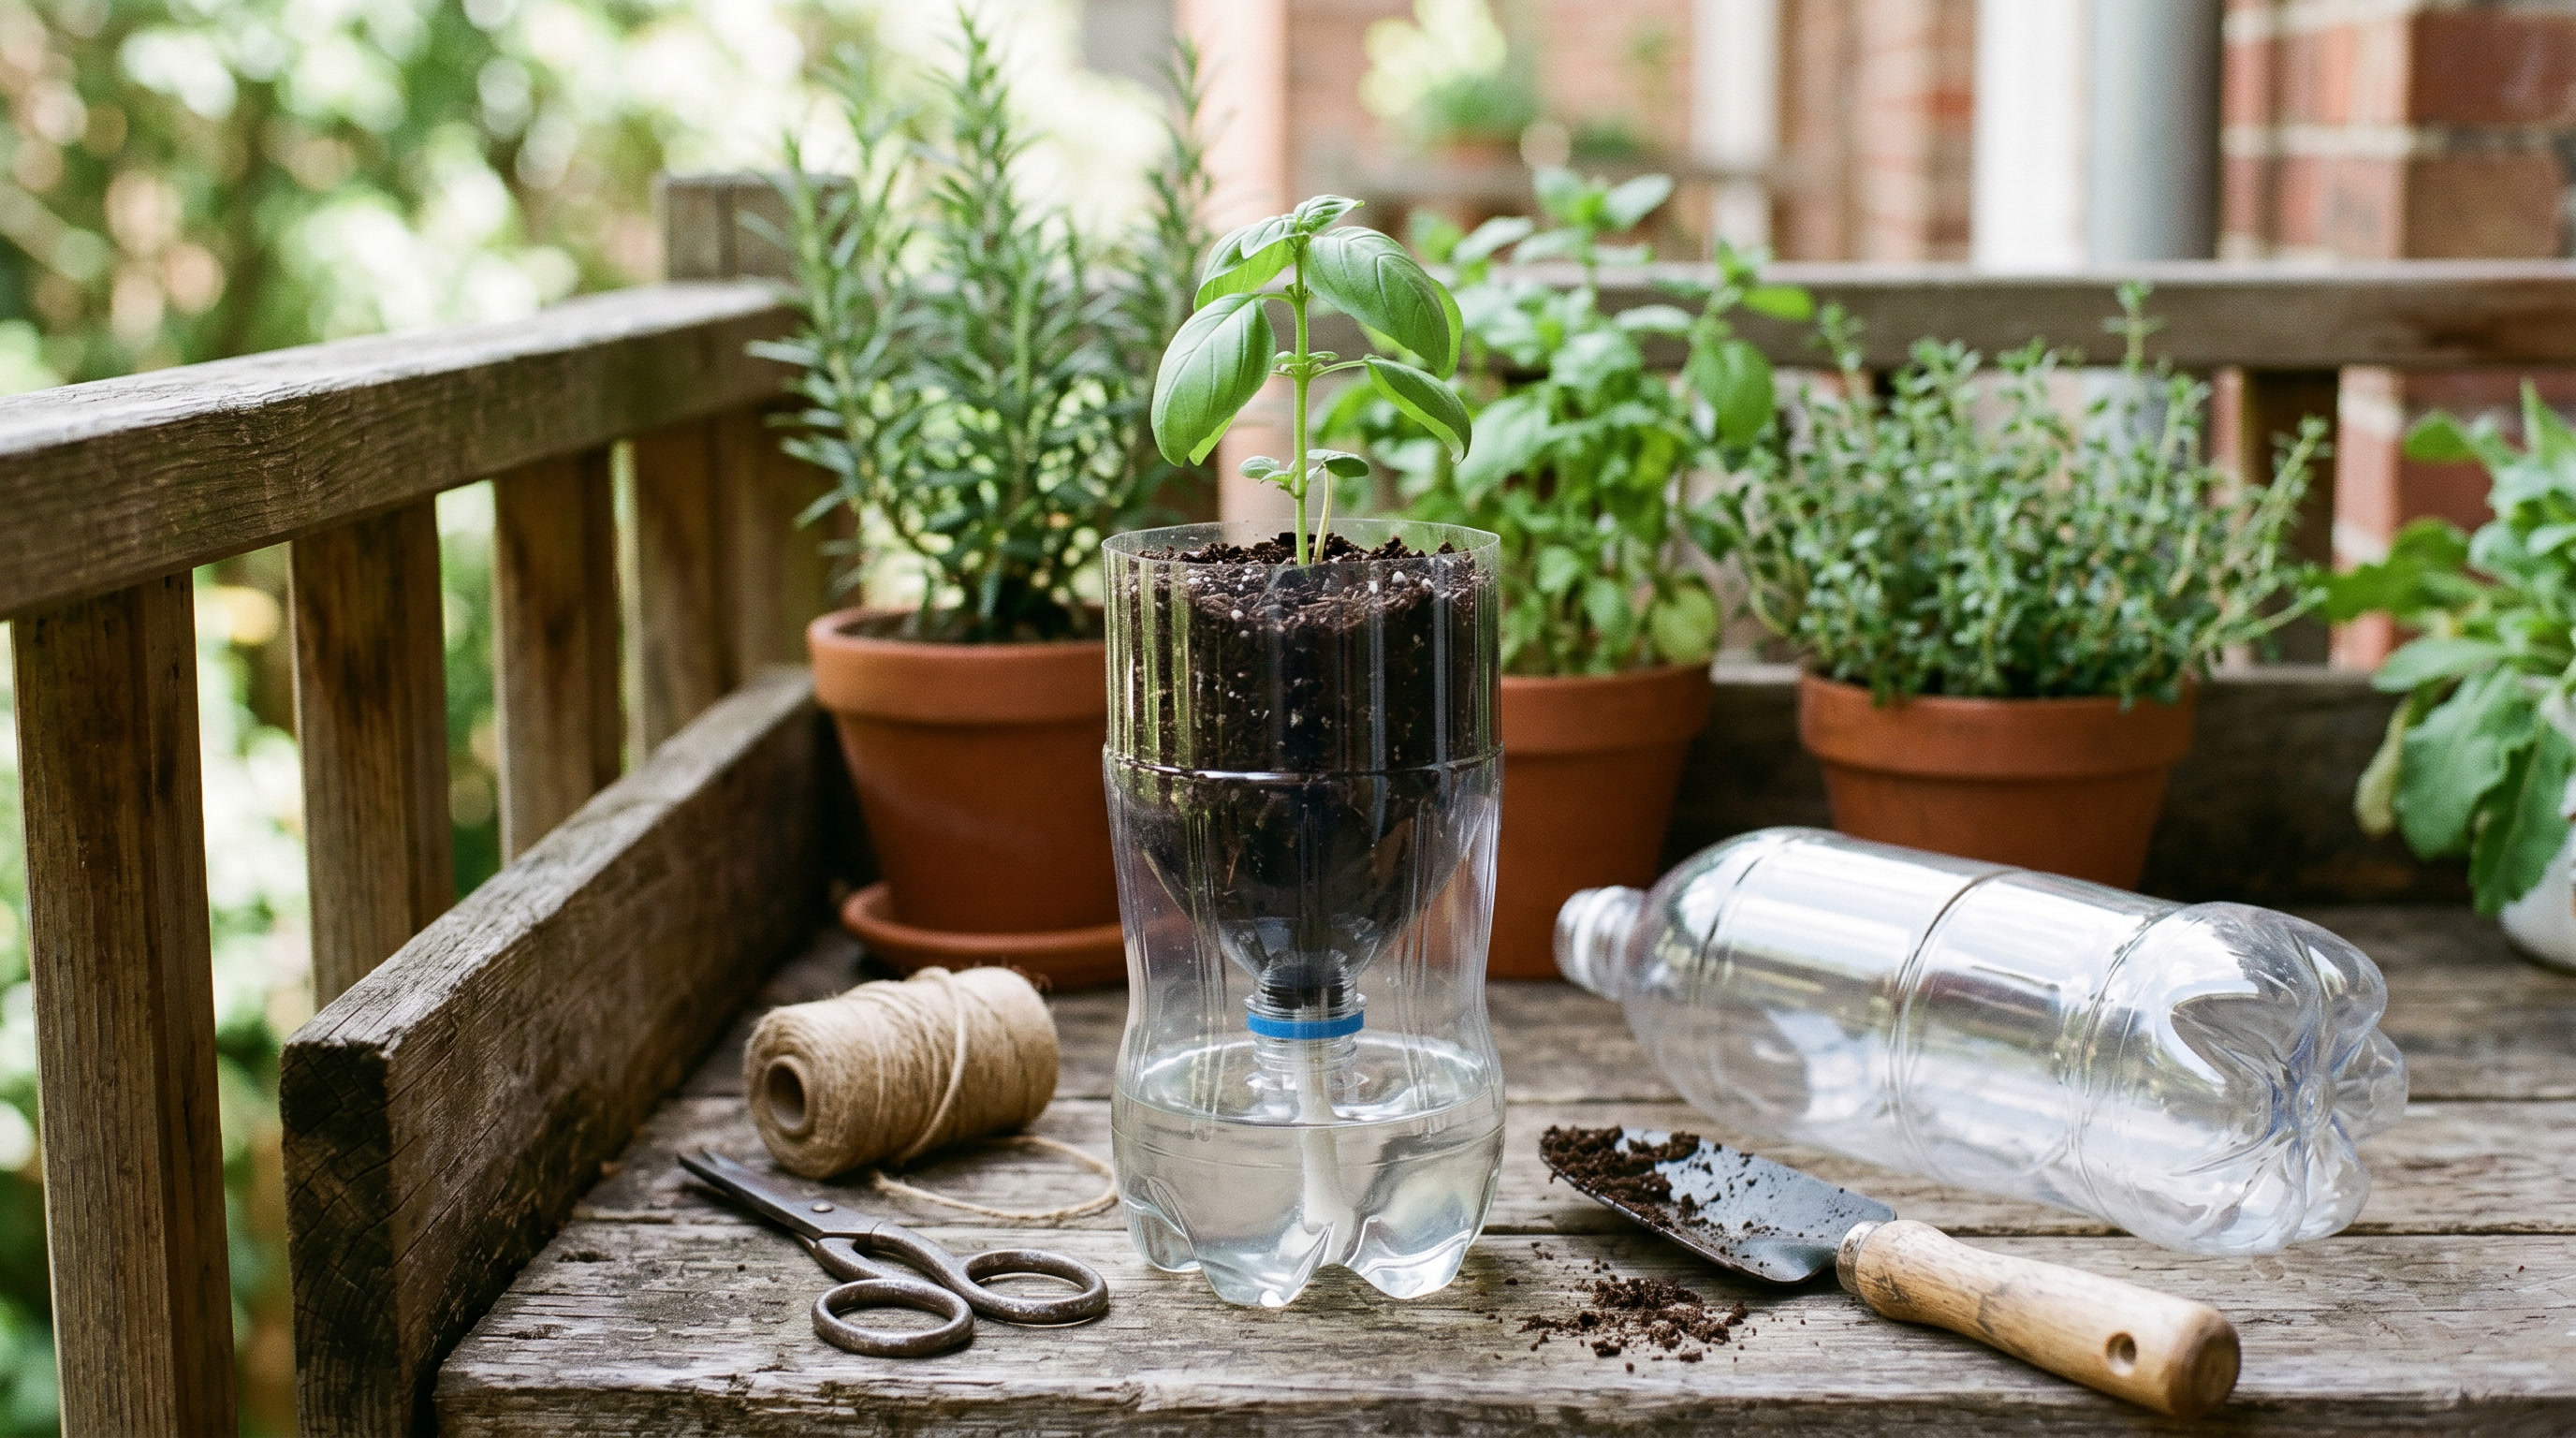
Bottle as part of a container
Some DIY designs cut and invert a bottle so the lower section holds water and the upper section holds compost. A wick or contact point helps moisture move upward.
Use clean bottles and keep the setup stable. If it wobbles, leaks or smells, it is not a good planter.
Wick system
A wick can draw water from a reservoir into compost. Cotton cord, capillary matting or similar materials are commonly used, but results vary. The wick must stay in contact with both water and compost.
Only use clean containers that are sensible for plants. Avoid bottles that held chemicals, oils or unknown materials, especially for edible crops.
Basic steps
- Choose a clean bottle or container.
- Decide whether it will be a reservoir or part of the planter.
- Make sure the plant section can drain or avoid waterlogging.
- Add a wick or contact point if needed.
- Fill with compost and plant a suitable crop.
- Add water to the reservoir.
- Check daily at first.
The final step matters most. You need to learn whether the compost is staying too wet, too dry or about right.
Renter-friendly cautions
Put the planter on a tray. Test it somewhere safe before placing it on a windowsill, balcony edge or indoor surface. Water leaks are annoying in any home and worse in rented spaces.
Keep the setup small and moveable. A DIY self-watering planter should not depend on drilling, fixing or balancing.
For broader budget ideas, read Cheap Ways to Start Gardening as a Renter.
Useful extras for this project
You can make this project with very little specialist kit. These extras are only worth comparing if they make the job cleaner or easier in your space. The small-space gardening kit list has a wider beginner checklist.
- Potting tray: See examples
- Spray bottle: See examples
- Plant labels: See examples
When DIY is not the best option
If you need a tidy indoor setup for a visible kitchen windowsill, a proper self-watering herb pot may be neater. The guide to How to Choose Self-Watering Herb Pots in the UK explains what features to compare before buying.

Testing the planter
Test the system before relying on it. Fill the reservoir, water the compost normally once, and check the planter over several days. The compost should stay lightly moist, not swampy. The reservoir should not leak. The plant should look steady rather than wilted or yellowing.
If the top remains bone dry while the reservoir stays full, the wick or contact point may not be working. If the compost smells sour or the plant droops in wet compost, the system may be keeping roots too wet.
Testing matters because small DIY systems vary a lot. Bottle size, wick material, compost texture, crop type and room temperature all change how quickly water moves.
A simple build plan
Keep the first version small. Use it for one pot of parsley, mint, chives or salad leaves rather than a prized tomato plant. Make the reservoir visible so you can see whether water is being used.
Work in this order:
- Choose a clean container and plant.
- Decide where excess water will go.
- Add the wick or reservoir.
- Fill with compost and plant.
- Water from above once to settle the compost.
- Add water to the reservoir.
- Check daily for the first week.
If the design needs tape, string or balancing to stay upright, simplify it. A self-watering planter should make watering easier, not create a fragile object you are afraid to touch.
Indoor and balcony differences
Indoors, the main concern is leaks and soggy compost. Put DIY planters on trays and avoid placing them straight onto wood, bookshelves or painted surfaces. Indoor airflow is lower, so compost may stay wet longer.
On a balcony, the main concern is drying and stability. Sun and wind can empty a small reservoir quickly. A lightweight bottle planter can also blow over if it is tall or badly balanced.
This is why the same design may work on a kitchen sill but fail outdoors in July. Adjust the size and crop to the location.
Cleaning and maintenance
Reservoirs need checking. Empty and rinse them periodically, especially if algae, smell or residue appears. Replace wicks that become blocked or dirty. Remove dead leaves from the compost surface so they do not rot.
If you stop using the planter, clean it before storing it. A low-cost DIY system is only useful if it stays hygienic and easy to restart.
When to upgrade
If a DIY planter helps but looks too messy for a visible windowsill, a purpose-made self-watering pot may be worth considering later. Before buying, look for easy cleaning, a visible water level and a stable base rather than just a nice outer colour.
The guide to How to Choose Self-Watering Herb Pots in the UK explains the features to compare without pushing products.
Troubleshooting a bottle planter
If the plant wilts while the reservoir is full, water may not be moving into the compost. Check that the wick reaches both the water and the root zone. Also check whether the compost was so dry that it pulled away from the wick.
If the plant yellows and the compost stays wet, the setup may be too damp. Empty the reservoir, let the compost partly dry, and consider moving the plant back into a normal pot with drainage.
If the reservoir empties too quickly, the bottle may be too small for the plant, the position may be too hot, or the planter may be leaking. Place the planter on a dry tray and check for damp patches underneath.
Best uses for this project
A bottle self-watering planter is best as a learning project, holiday support for a short period, or a low-cost way to understand reservoirs before buying a proper pot. It is not the best choice for every visible indoor space.
Use it for crops where steady moisture helps: parsley, mint, chives, salad leaves or pea shoots. Avoid making it the main system for rosemary, thyme or any plant already struggling in low light.
Comparing DIY with ordinary watering
Before building several planters, compare one self-watering pot with one normal pot of the same crop. Put them in similar light and check both daily for a week. This tells you whether the DIY system actually improves your routine.
Sometimes the result is surprising. A normal pot in a larger container may be easier than a bottle system. Or a small reservoir may make a thirsty windowsill herb much calmer to care for. Let the plant decide.
Keeping it tidy
DIY garden projects can look messy quickly in a flat. Trim labels neatly, keep reservoirs clean, and avoid containers that drip when moved. If the setup is in a kitchen or living area, it should be easy to lift, wipe and explain.
A tidy DIY planter is more likely to stay in use. A fussy one usually ends up abandoned on a windowsill.
How long to keep using it
Treat the first bottle planter as a trial. If it stays clean, waters evenly and helps the plant, keep using it through the season. If it becomes smelly, unstable or difficult to refill, retire it and return to a normal pot.
DIY systems should earn their place. They are useful when they reduce work and teach you something about watering. They are not worth keeping just because you made them.
If the planter only works when you constantly adjust it, the design is too fussy. Go back to a normal pot, then try a simpler reservoir later.
The best DIY version is boring, visible and easy to refill. If you can understand it at a glance, you are more likely to keep checking it.
Common mistakes
The biggest mistake is assuming self-watering means no checking. Reservoirs can run dry, wicks can fail, and compost can stay too wet.
Another mistake is using the system for plants that prefer drier compost. Match the method to the crop.
FAQ
Do bottle self-watering planters really work?
They can work for small plants and short-term moisture support, but results depend on the design, wick, compost and crop.
Are they good for herbs?
They can suit parsley, mint and chives. They are less suitable for rosemary and thyme if the compost stays too wet.
Can I use any plastic bottle?
Use clean bottles that held drinks or food-safe contents. Avoid unknown or chemical containers.
Do self-watering planters need drainage?
The plant roots still need air. Designs should avoid leaving roots in stagnant water.
How often should I refill the reservoir?
Check daily at first. Refill timing depends on reservoir size, plant size, weather and location.
Related guides
- Beginner’s Guide to Small-Space Gardening for UK Renters
- How Often Should You Water Plants in Pots in the UK?
- How to Choose Self-Watering Herb Pots in the UK
Next step
If you want a neater long-term option, read How to Choose Self-Watering Herb Pots in the UK before buying anything.